Introduction
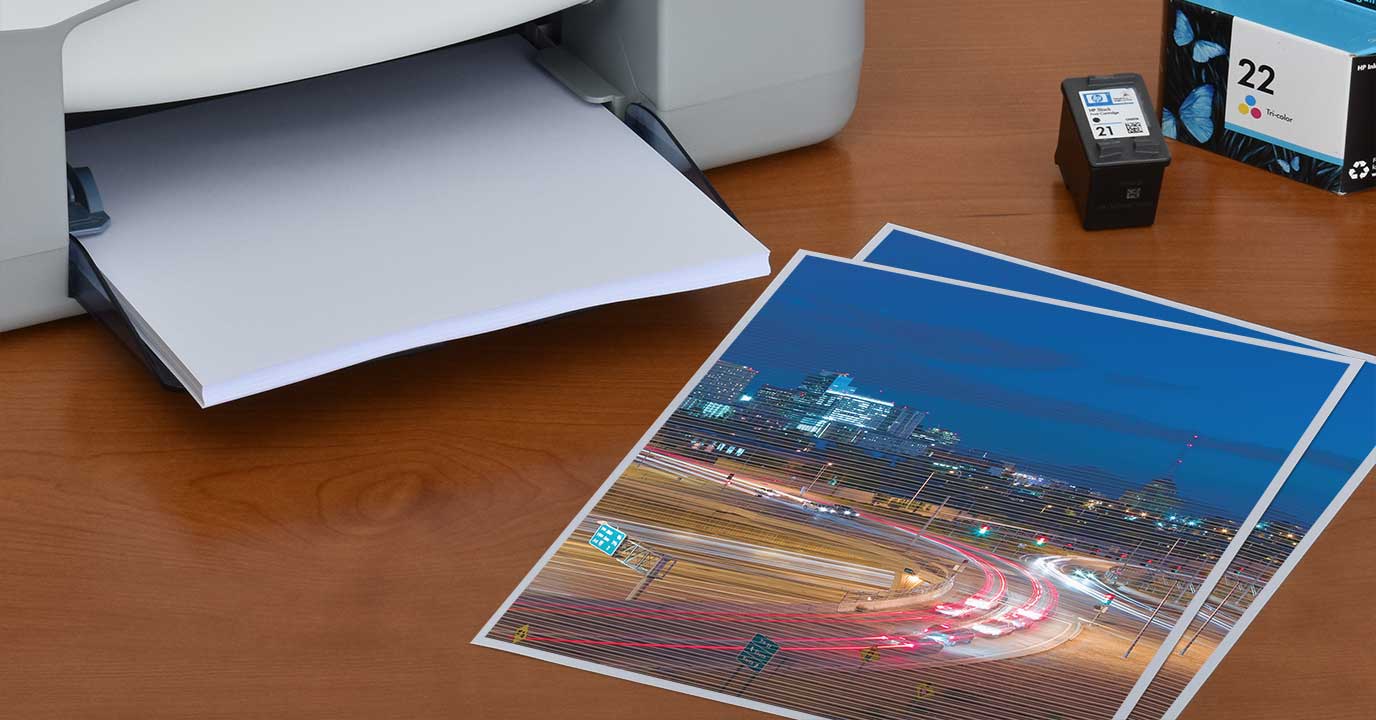
Few printer problems are as frustrating as poor print quality. Streaks, faded text, or blotchy images not only waste ink and paper but also affect the readability and professional appearance of your documents. Poor print quality can result from a variety of factors, including low ink or toner levels, clogged print heads, incorrect settings, or even environmental conditions. The good news is that most issues can be resolved with basic troubleshooting. This guide covers common causes of streaks and faded prints, step-by-step fixes, and preventive tips to maintain clear and consistent printing results.
1. Common Symptoms of Poor Print Quality
Poor print quality can manifest in different ways. Recognizing the symptoms helps identify the underlying issue:
- Streaks running vertically or horizontally across the page.
- Text appearing faint, uneven, or faded.
- Blotchy or smudged ink in certain areas.
- Colors printing incorrectly or appearing dull.
- Random blank lines or missing sections of text.
Each of these symptoms points to specific causes, which we will address step by step.
2. Checking Ink or Toner Levels
One of the most common reasons for faded or streaky prints is low ink or toner. To fix:
- Check ink or toner levels via the printer display panel or printer software.
- Replace empty cartridges or refill them as needed.
- Ensure cartridges are properly installed and seated in their slots.
Pro Tip: Always keep spare cartridges handy to avoid interruptions during important tasks.
3. Cleaning Print Heads and Nozzles
Clogged print heads are another major culprit behind poor print quality. Ink can dry and block nozzles if the printer is not used regularly.
- Run the built-in print head cleaning utility from the printer’s menu or software.
- Perform a nozzle check pattern to confirm whether all colors are printing correctly.
- If blockages persist, perform a deep cleaning cycle.
- In severe cases, manual cleaning with a lint-free cloth and distilled water may be required.
4. Verifying Paper Quality and Type
Low-quality or incompatible paper can also lead to streaks and faded prints. To avoid problems:
- Use paper recommended for your printer model, such as standard office paper or photo paper.
- Store paper in a cool, dry place to prevent moisture absorption.
- Avoid reusing previously printed or curled sheets.
Best Practice: Select the correct paper type (plain, photo, labels, etc.) in the print settings for accurate results.
5. Adjusting Print Settings
Incorrect print settings can compromise quality. Make sure to:
- Check that the print quality is set to “Standard” or “High” for important documents.
- Use “Draft” mode only for test prints to conserve ink.
- Ensure the correct paper size and type are selected in settings.
- Enable “Color Management” options if printing photos or graphics.
6. Handling Toner Issues in Laser Printers
Laser printers may suffer from streaks if the toner is unevenly distributed. To fix:
- Remove the toner cartridge and gently shake it side-to-side to redistribute toner powder.
- Check for damage to the drum unit or fuser, which can cause streaks.
- Replace worn-out toner cartridges or imaging drums promptly.
7. Cleaning and Maintaining the Printer
Dust, dirt, and residue buildup inside the printer can affect print quality. Cleaning should be part of regular maintenance:
- Use a soft, lint-free cloth to clean the printer exterior.
- Clean the paper feed rollers to prevent uneven paper movement.
- Remove dust from inside using compressed air carefully.
Pro Tip: Schedule monthly cleaning sessions to prevent recurring issues.
8. Environmental Factors Affecting Print Quality
Printers are sensitive to their surroundings. Temperature, humidity, and dust can all influence output:
- Avoid placing printers near direct sunlight, heaters, or air conditioners.
- Keep humidity levels balanced to prevent paper from curling or ink from smudging.
- Cover the printer when not in use to protect it from dust accumulation.
9. Advanced Troubleshooting
If the above fixes do not solve the problem, try these advanced steps:
- Update or reinstall printer drivers to eliminate software conflicts.
- Perform a firmware update to fix bugs affecting print quality.
- Run alignment tests to correct skewed or misaligned prints.
- If problems persist, seek professional servicing to check for hardware faults.
10. Preventive Measures for Long-Term Quality
Consistent, high-quality printing requires preventive care. Adopt these habits:
- Print a test page at least once a week to keep ink flowing.
- Use your printer regularly instead of leaving it idle for long periods.
- Always use compatible ink, toner, and paper supplies.
- Update drivers and firmware regularly for improved performance.
Conclusion
Poor print quality—whether streaks, faded text, or uneven colors—can disrupt productivity, but most issues are easy to fix with the right approach. By checking ink or toner levels, cleaning print heads, using quality paper, and adjusting settings, you can restore sharp, professional-looking prints. Regular maintenance and preventive care ensure your printer continues delivering consistent results for years to come. With these strategies, you’ll minimize frustration, save money, and extend the life of your printer while enjoying crisp and clear printouts every time.