Wrinkled or Crumpled Paper Output
Introduction
Printers are designed to produce neat, professional-quality documents, but one of the most frustrating issues users face is when the printer outputs wrinkled, creased, or crumpled paper. This not only makes documents look unprofessional but also wastes paper, ink, and time. Wrinkled paper can result from various mechanical, environmental, or user-related factors. Understanding why this happens and how to fix it can save you from repeated frustration and help extend your printer’s lifespan. In this guide, we will explore the main causes of wrinkled paper output, practical troubleshooting tips, and preventive measures to ensure smooth, flawless printing every time.
1. Common Causes of Wrinkled or Crumpled Paper
- Overfilled Paper Tray: Adding too many sheets in the input tray can cause misfeeds and lead to crumpled output.
- Poor Quality or Damp Paper: Paper that is too thin, thick, or has absorbed moisture may not feed correctly.
- Worn or Dirty Rollers: Feed rollers that are worn out or covered in dust can drag the paper unevenly.
- Foreign Objects Inside the Printer: Small pieces of torn paper or debris can block smooth paper movement.
- Damaged Fuser Unit: A faulty or overheated fuser may crease the paper as it applies heat and pressure.
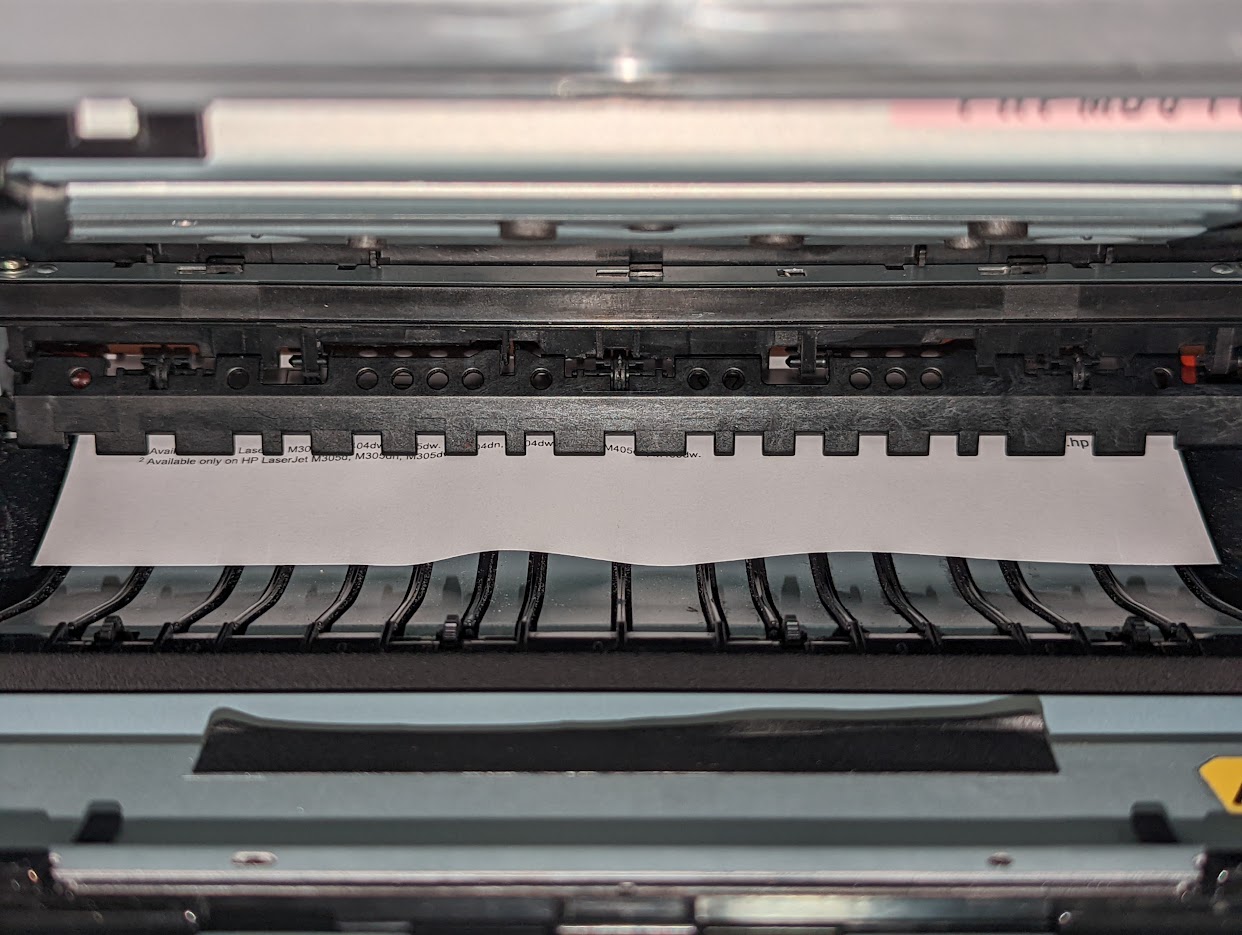
- Improper Paper Alignment: Misaligned sheets can wrinkle as they move through the printer’s path.
2. Check and Prepare Paper Properly
Paper issues are one of the most common culprits behind wrinkling. Ensuring that you are using the correct type of paper and loading it correctly can make a significant difference.
- Always use high-quality, printer-compatible paper.
- Store paper in a cool, dry environment to prevent moisture absorption.
- Before loading, fan the stack of paper to separate sheets and prevent sticking.
- Do not exceed the maximum paper capacity recommended by the manufacturer.
- Ensure the paper guides in the tray are snug but not too tight.
3. Inspect and Clean Paper Rollers
The rollers are responsible for feeding paper smoothly through the machine. When they become dirty, worn, or misaligned, they may pull the sheet unevenly, resulting in wrinkles.
- Turn off and unplug the printer before inspecting the rollers.
- Use a lint-free cloth slightly dampened with water to clean dust and debris from rollers.
- Rotate rollers manually while cleaning to reach all surfaces.
- If rollers are cracked or worn out, replace them with new ones.
4. Remove Paper Jams and Debris
Small scraps of paper or foreign objects left inside the printer often interfere with smooth paper feeding.
- Open all accessible panels and carefully check for any paper remnants.
- Use a flashlight to inspect deeper areas for small bits of debris.
- Never pull jammed paper forcefully; instead, follow the manufacturer’s instructions for safe removal.
- Keeping the inside of the printer clean reduces the risk of crumpled paper output.
5. Check the Fuser Unit
The fuser is the component that uses heat and pressure to bond toner or ink to the paper. A malfunctioning fuser may cause crumples, especially if it overheats or applies uneven pressure.
- Look for visible damage such as burns or scratches on the fuser rollers.
- If the fuser is beyond repair, replacement is usually the only solution.
- For laser printers, regular fuser maintenance is recommended after a certain number of pages.
- Contact a professional technician if you are unsure about fuser repairs or replacement.
6. Ensure Proper Paper Alignment
Improperly aligned paper often bends or wrinkles during the printing process.
- Adjust side guides in the paper tray to match the paper size.
- Do not mix different paper sizes or types in the same tray.
- Ensure paper is flat and free from folded corners before loading.
7. Environmental Factors That Cause Wrinkling
External conditions such as humidity and temperature also affect print quality and paper condition.
- High humidity causes paper to absorb moisture, making it prone to curling and crumpling.
- Store unused paper in sealed packaging or airtight containers.
- Avoid placing the printer in damp or extremely hot environments.
8. Preventive Measures for Smooth Printing
- Perform routine printer maintenance such as cleaning rollers and removing dust.
- Replace worn-out parts such as rollers and fusers when needed.
- Always use paper that matches the printer’s recommended specifications.
- Keep the printer covered when not in use to prevent dust accumulation.
9. When to Seek Professional Help
While many wrinkling issues can be resolved at home, some cases may require professional servicing.
- If the printer continues wrinkling paper despite using high-quality sheets and proper loading techniques.
- If rollers or the fuser unit are severely damaged.
- If you notice unusual noises or smells when the printer operates.
- When the issue persists across different paper types and trays.
Conclusion
Wrinkled or crumpled paper output can be frustrating, but the problem is often easy to diagnose and fix. In most cases, the cause lies in paper handling, dirty rollers, damaged fusers, or environmental conditions. By ensuring proper paper storage, cleaning the rollers, and maintaining your printer regularly, you can prevent this issue and enjoy smooth, professional-quality prints. If the problem persists despite troubleshooting, professional repair or part replacement may be necessary. With the right care and attention, your printer will consistently deliver flawless results without wrinkling or damaging your documents.